Keeping your Shark Rotator canister clean is the single best thing you can do for its performance. A clogged canister is the main culprit behind weak suction, strange noises, and a vacuum that just doesn’t pick up like it used to. Think of it as routine maintenance for your carskip it, and you’ll run into bigger problems down the road.
This guide walks you through the entire process. You’ll learn how to disassemble the canister, clean every component, and get your vacuum running like new. For this project, having spare filters on hand is a great idea. Many professionals recommend using the 2 4 Pack of replacement filters to ensure you always have a clean, dry one ready to go.
Introduction to Shark Rotator Canister Maintenance
Your Shark Rotator vacuum cleaner uses powerful cyclonic technology to separate dirt and debris from the air. This happens inside the clear plastic canister, or dust cup. Over time, fine dust and hair can cling to the inner walls and filters, gradually reducing suction power. Regular cleaning prevents this buildup.
It’s not just about emptying the bin. A full vacuum maintenance routine includes the canister assembly, the HEPA filter, and the pre-filter. Whether you have an upright, canister, or cordless model from the Shark Rotator Professional line, the core principles are the same. Let’s get started.
Step-by-Step Canister Cleaning Process
Always unplug your vacuum before starting any maintenance. Work in a well-lit area with a trash can nearby.
1. Emptying the Dust Cup
First, remove the canister from the vacuum body. The release mechanism varies by model (like the NV or NVZ series), but it’s usually a button or latch. Hold the canister over your trash bin and press the bottom release door to empty it. Give it a few firm taps to dislodge stuck debris.
2. Disassembling and Washing the Canister
Now, take the canister apart. Twist and lift the lid off the top. You’ll see the main cyclonic chamber. Remove the foam pre-filter that sits around the central cone. This is a key step many miss.
- Rinse the empty plastic canister with warm water. Use a long-handled brush to scrub the inside walls and the small fins of the cyclonic chamber.
- Never use harsh chemicals or abrasive scrubbers, as they can scratch the plastic.
- Wash the lid and the bottom release door as well.
Let all plastic components air dry completely for at least 24 hours. Reassembling a damp canister will cause mold and mildew.
Filter Care and Replacement
Filters are the lungs of your vacuum. Cleaning them is non-negotiable for maintaining airflow and suction power.
Cleaning the HEPA Filter
The HEPA filter is the final barrier, capturing microscopic particles. To clean it, gently tap it over a trash can to remove loose dust. Do not rinse or wash the HEPA filter unless your specific model’s manual states it’s washable. For most, washing ruins the fine mesh. If it looks gray and clogged, it’s time for a replacement.
Washing the Pre-Filter
The foam pre-filter is almost always washable. Rinse it under lukewarm water until the water runs clear. Gently squeeze out the waterdon’t wring or twist it, as this can tear the foam. Let it air dry fully, which can take up to 24 hours. This is where having that spare 2 4 Pack is so helpful; you can swap in a dry filter immediately.
Troubleshooting Common Issues
Even with regular cleaning, you might hit a snag. Heres how to solve the most frequent problems.
Shark Rotator Canister Won’t Empty Properly
If debris is stuck and the door won’t open fully, don’t force it. Check for a large object or hair wrap blocking the mechanism. Use a tool like a butter knife or chopstick to carefully clear the path from the top of the canister after you remove the lid.
Loss of Suction After Cleaning
This almost always means something is damp. Double-check that every single componentthe canister, lid, pre-filter, and HEPA filteris bone dry. Even a slightly damp filter will severely restrict airflow. If you’re looking for a model known for consistent power, our guide to the best Shark Rotator vacuum models compares performance across different series.
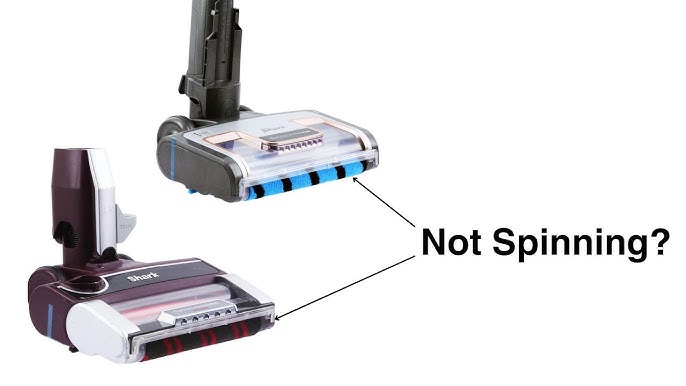
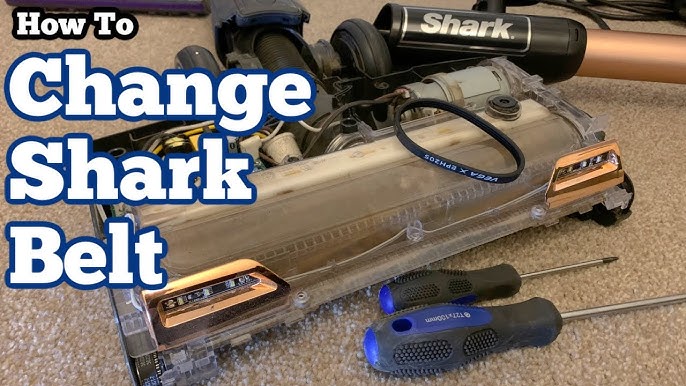
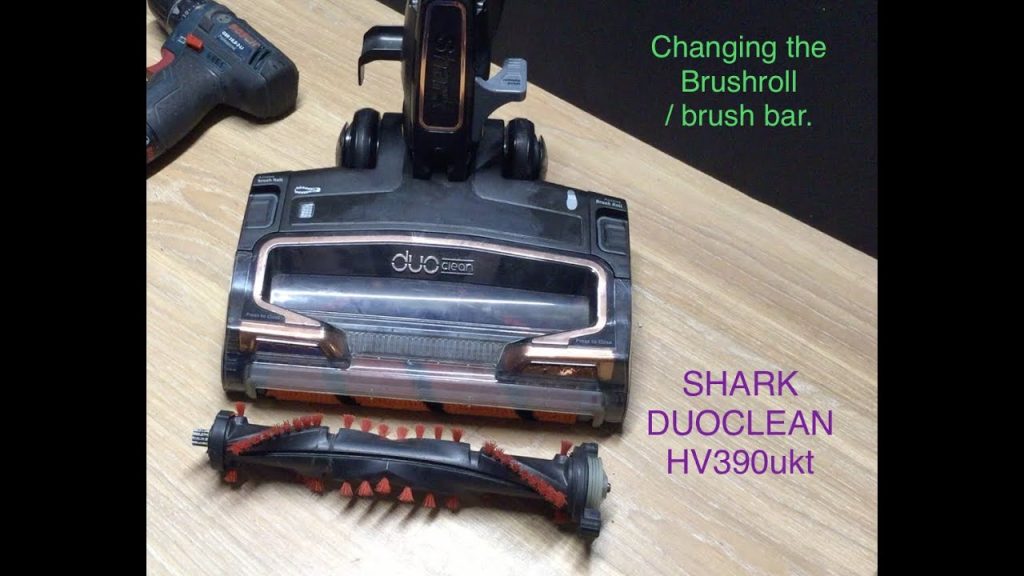
Detailed Brush Roll and Belt Check
While your focus is on the canister, it’s smart to inspect the brush roll. Turn the vacuum over, remove the cover, and cut away any wrapped hair or strings. Spin the brush roll by hand; it should move freely. Check the belt for signs of wear, stretching, or cracking. A worn belt needs replacement to maintain effective agitation on carpets.
Preventive Maintenance Tips
A little habit goes a long way. Follow these steps to minimize deep cleans.
- Empty the dust cup after every use. Don’t let it fill to the “max” line. This prevents compacted debris.
- Give the canister a quick visual inspection weekly. Look for dust buildup on the cyclonic fins.
- Tap loose dust from the filters every month, even if you don’t wash them.
- Store your vacuum in a dry, cool place. Avoid damp basements or hot garages.
For homes with pets, maintenance is even more critical. Pet hair and dander can quickly clog the system. If that’s your situation, you’ll want to see our recommendations for the best Shark Rotator for carpet and pets, which highlights models built for heavy-duty fur control.
When to Seek Official Support
For model-specific diagrams, official replacement part numbers, or warranty questions, always refer to the source. The official Shark website is your best resource for manuals and genuine components.
Keeping Your Investment Strong
Cleaning your Shark Rotator canister isn’t a choreit’s a shortcut to a vacuum that lasts for years. You’ve now got a clear process: disassemble, wash, dry completely, and reassemble. Pay special attention to the filters and that often-overlooked pre-filter. Remember, the most common issue is reassembling parts that aren’t fully dry.
Incorporate these steps into your routine every one to three months, depending on use. Your vacuum will reward you with powerful, consistent cleaning performance on every pass. That’s how you get the most value from a great machine.