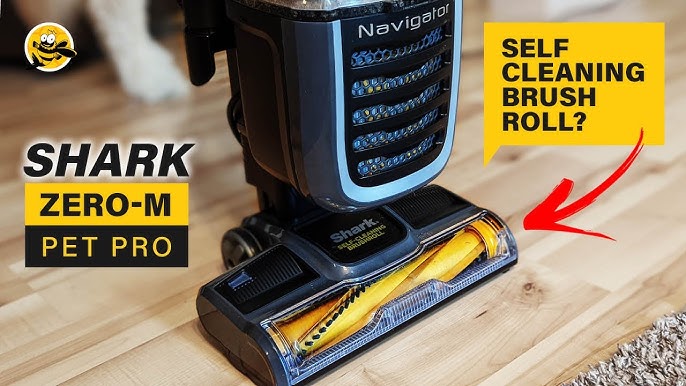
Your Shark Navigator is a workhorse, but when the brush roll stops spinning, it’s a clear sign something’s wrong. Often, the culprit is a worn or broken brush belt. This simple, inexpensive part is the critical link that transfers power from the motor to the brush roll. Replacing it yourself is a straightforward DIY task that can save you time and money on a service call.
Before you start, you’ll need the right replacement part. It’s wise to have a new belt on hand. For a reliable, affordable option, many users have success with JEDELEOS Replacement Belts. These multi-packs are often compatible with various Shark models and ensure you have a spare. Now, let’s get your vacuum back to full power.

Why Your Shark Navigator Brush Belt Needs Replacement
A broken or stretched drive belt is the most common reason for a brush roll not spinning. Over time, friction, heat, and debris cause the rubber to degrade. You might hear a high-pitched whirring sound as the motor spins freely, or see the brush roll move sluggishly. Regular vacuum maintenance, like cleaning hair and string from the brushroll assembly, can extend its life, but eventual replacement is inevitable. It’s a normal part of ownership.
Tools and Parts You’ll Need for the Job
Gathering your tools first makes the process smooth. You likely have most of these at home.
- Replacement Brush Belt: Confirm it’s for your specific Shark Navigator model. Check the belt size specifications on the old belt or your manual. Using the wrong size can cause immediate failure.
- Phillips Head Screwdriver: This is the primary tool you’ll need for most models.
- Scissors or Utility Knife: For carefully cutting away tangled debris.
- Clean Cloth: For wiping out the belt housing and brush chamber.
- Your Vacuum’s User Manual: Helpful for model-specific diagrams. If you’ve lost it, you can often find a PDF on the official Shark support website.
Pro Tip: Take a photo with your phone before disassembling anything. It’s a great reference for reassembly.
Identifying Your Shark Navigator Model
Not all Sharks are the same. Your model number is crucial for buying the correct part. Look for a sticker or imprint on the back or bottom of the vacuum’s main body, or inside the dust cup compartment. It will typically start with “NV” for Navigator. Write this number down when ordering your new belt.
Step-by-Step Guide to Replacing the Brush Belt
Follow these steps for a typical Shark vacuum repair. This process generally applies to popular models like the Shark Navigator Lift-Away.
Step 1: Safety First and Preparation
Unplug the vacuum. Always. Then, lay it flat on its back on a clean, well-lit surface. This gives you clear access to the brush housing underneath.
Step 2: Accessing the Brush Roll
Locate the latches or screws on the bottom plate covering the brushroll assembly. Most Navigators have two latches on the sides. Release them and carefully remove the plate. You’ll now see the brush roll and the old belt.
Step 3: Removing the Old Brush Belt
Gently lift the brush roll out of its housing. The old belt will likely be stretched, snapped, or melted onto the motor shaft and brush roll end cap. Carefully slide or peel it off both ends. This is a good time to perform a thorough clean brush roll operation. Use scissors to cut away any wound hair, strings, or carpet fibers from both ends of the roller and the brush itself.
Step 4: Installing the New Belt
Slide the new Shark vacuum belt onto the motor shaft first. It should fit snugly. Then, stretch the belt and loop it over the end of the brush roll. You’ll need to apply a bit of pressurethis is normal. Ensure the belt is seated properly in the grooves on both the motor shaft and the brush roll.
Step 5: Reassembling the Unit
Place the cleaned brush roll back into its housing, making sure both ends are properly seated in the slots. Double-check the belt is aligned and not twisted. Snap or screw the bottom plate back into place securely. A loose plate is a common culprit for new issues.
Troubleshooting Common Issues Post-Replacement
What if you’ve completed the drive belt replacement and things still aren’t right? Let’s troubleshoot.
Brush Roll Still Not Spinning
- Check the Installation: Is the belt correctly on both shafts? Is it twisted?
- Inspect the Brush Roll: Does it spin freely by hand? If it’s jammed, there may be a hidden obstruction or a damaged bearing.
- Motor Drive Issue: In rare cases, the drive motor itself may have failed. Listen for the motor humming when the brush roll is turned on. If it hums but the belt doesn’t turn, the motor clutch could be the issue.
New Belt Breaks Immediately
- Wrong Size: This is the most likely cause. A belt that’s too small will be under extreme tension and snap.
- Obstruction: A severely jammed brush roll will create too much resistance for the new belt. Ensure the brush roll spins freely before installing the belt.
- Sharp Edges: Inspect the motor shaft and brush roll end cap for any burrs or melted plastic from the old belt that could cut the new one.
If you encounter persistent problems with hair wrap, especially with pets or long hair, consider a model designed to handle it. Our guide to the best anti-wrap Shark vacuum for long hair explores options that minimize this hassle.
Maintenance Tips to Prevent Future Problems
A little preventative care goes a long way. Follow these tips to extend the life of your new belt and brush roll.
- Clean the Brush Roll Weekly: Regularly cut and remove hair and threads. This reduces drag and heat buildup on the belt.
- Check for Obstructions: Before each use, do a quick visual check of the brush housing for large debris.
- Use the Right Height Setting: Running the vacuum on too low a setting for your carpet creates excessive friction and strain.
- Inspect the Belt Periodically: Every few months, take a peek. Look for cracks, glazing, or stretching.
For those looking to reduce maintenance even further, newer technologies like automatic self-emptying Shark vacuums handle both dust and debris management with impressive automation.
A Note on Warranty Implications
Performing this DIY vacuum fix yourself typically does not void your Shark warranty, as long as you don’t cause damage during the repair. However, if your vacuum is still under warranty and the brush roll issue seems related to a motor defect, contacting official Shark support first might be your best bet. They can advise if the repair is covered.
Getting Back to Clean Floors
Replacing the brush belt on your Shark Navigator is a empowering repair. You’ve saved money, learned about your appliance, and restored its cleaning power. With the right beltlike the JEDELEOS Replacement Beltsand about 15 minutes, you transformed a frustrating problem into a simple fix. Keep that brush roll clean, listen for changes in sound, and you’ll enjoy many more months of reliable service before the next vacuum brush replacement is due. Your floors will thank you.