You know that moment when your Shark Navigator starts to sound different? The motor pitch changes, and you can see debris swirling in the clear bin but not getting captured. That’s your cue. Properly emptying your vacuum isn’t just about dumping dirt; it’s the core of maintaining its powerful suction and extending its lifespan. Neglecting this simple routine is the most common reason a shark navigator vacuum starts to underperform.
Think of it like changing the oil in your car. Regular maintenance prevents bigger, costlier problems. A full dust cup strains the motor and clogs filters, making your machine work harder for worse results. This guide will walk you through the entire process, from the basic shark navigator dust cup empty to advanced troubleshooting. For a cleaner, less messy process, many users find a dedicated supply of bags helpful, like the Yudylg 50-Pack Trash bags for disposing of the collected dust and hair neatly.
Why Emptying Your Shark Navigator Correctly Matters
Your Shark Navigator uses cyclonic technology to separate dirt from the air, flinging debris into the dust cup. When that cup is overfull, the system can’t function. Airflow is restricted, causing suction to drop immediately. More critically, fine dust bypasses the cyclonic action and gets driven directly into the filters, clogging them prematurely. This is often why you experience a shark vacuum won’t pick up scenario right after you’ve emptied itthe real culprit is a dirty filter, not the bin itself. Consistent, correct emptying protects your investment.
Step-by-Step Guide to Emptying the Dust Cup
This process is straightforward, but doing it in the right order prevents dust clouds and ensures everything is seated correctly afterward. The goal is a complete empty without a mess.
Locating and Releasing the Dust Cup
First, power off and unplug your vacuum. For most Shark Navigator upright models, the dust cup is attached to the top of the vacuum body. Look for the dust cup release button or latch, usually on the rear or side of the cup itself. Press or slide it to detach the entire cup from the main body. If you have a Shark Navigator Lift-Away model, you can detach the canister from the floor nozzle for easier handling, a key feature of these versatile shark vacuum canister systems.
The Clean Empty: Avoiding the Dust Cloud
Hold the dust cup over a trash bin. Many models have a “clean touch” release: you’ll press a button on the bottom of the cup to open the hatch. Do this slowly. Give it a gentle tap to dislodge any stuck debris. To minimize the mess, some owners do this step outside or inside a large garbage bag. This is the core answer to how to empty shark vacuum cleanly. Before reattaching, take a quick look inside the empty cup and the intake port for large obstructions.
How to Clean and Maintain the Filters
This is the step most people miss, and it’s the secret to restoring suction. Your Shark Navigator typically has two main filters that need regular attention.
Identifying Your Filters
- Pre-motor filter: This foam or felt filter protects the vacuum’s motor from dust. It’s usually located near the dust cup housing.
- HEPA filter: This fine filter captures microscopic allergens and sits after the motor, often at the top or back of the unit. It’s critical for air quality.
Knowing the difference between washable and replaceable filter types is key. Most Shark pre-motor filters are washable, while HEPA filters are often replaceable but some newer models have washable versions. Check your manual.
Step by Step Guide to Clean Shark Navigator Filters
- Remove both filters according to your model’s manual.
- Tap the HEPA filter gently over a trash can to remove loose dust. Do not wash it unless your manual explicitly states it is washable. If it’s not washable, replace it every 6-12 months.
- Rinse the pre-motor filter under lukewarm tap water until the water runs clear. Squeezedon’t wringout excess water.
- Let both filters air dry completely for at least 24 hours. Never reinstall a damp filter, as this will cause mold and immediately kill suction.
This routine of clean shark vacuum filter maintenance is non-negotiable. A dirty filter is the #1 reason for loss of suction.
Identifying and Clearing Clogs for Optimal Suction
If you’ve emptied the cup and cleaned dry filters but suction is still weak, you likely have a clog. The suction path includes the hose, wand, and floor nozzle.
Common Clog Locations
Clogs love bends and narrow spots. Start your investigation with these areas:
- The hose (detach it and look through it toward a light)
- The connection points between the wand and hose
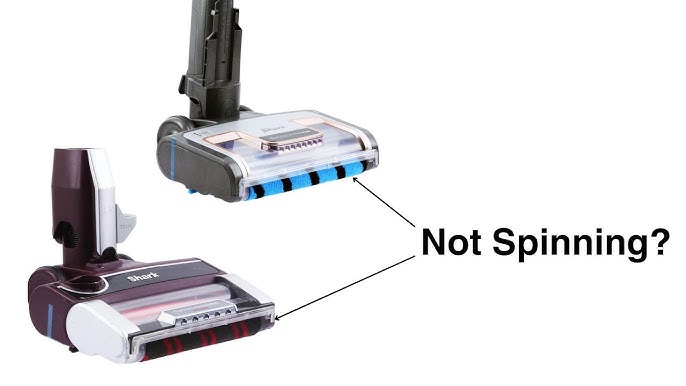
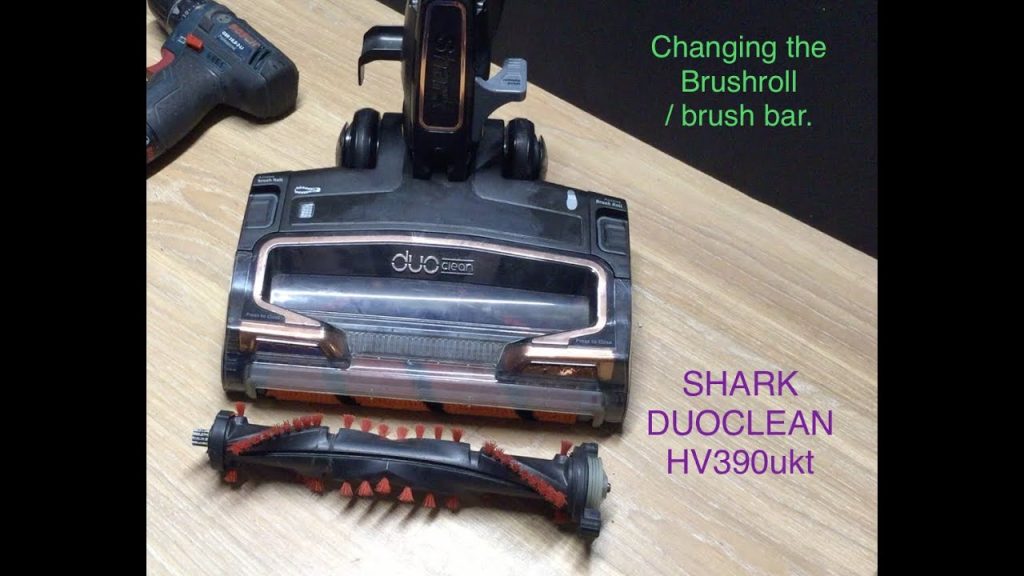
- The shark vacuum brushroll chamber (cut away wrapped hair and strings)
- The entrance to the dust cup from the floor nozzle
For a shark navigator clogged hose, a long, flexible tool like a plumbing snake or even a straightened coat hanger can work. Be gentle to avoid puncturing the hose. For complex disassembly guidance, resources like iFixit’s vacuum cleaner repair guides can be invaluable.
Systematic Clog Hunt
Turn the vacuum on and place your hand over the end of each section. You should feel strong suction. If you don’t, the clog is between that point and the motor. Work backward from the floor nozzle up to the dust cup to isolate the blockage.
Troubleshooting Common Post-Emptying Issues
Sometimes, performance issues pop up right after maintenance. Heres how to solve them.
Why Is My Shark Navigator Vacuum Losing Suction After Emptying?
This frustrating problem almost always points to one of three things:
- A damp filter: Did you let it dry for a full 24 hours? Even slightly damp filters block airflow.
- Improper reassembly: Check that the dust cup is clicked securely into place and all hose or wand connections are tight. A single loose seal breaks the vacuum’s suction.
- An unnoticed secondary clog: You cleared the dust cup, but a hairball is still lodged in the hose or brushroll area.
Dealing with Model-Specific Quirks
Specific model variations matter. The classic Navigator upright and the Shark Navigator Professional or Lift-Away models have slightly different latch mechanisms and filter access. Always refer to your manual for the exact location of parts like the dust cup release button. If you’re considering an upgrade, comparing the best Shark Navigator Lift-Away vacuums can show you the latest features designed to simplify these maintenance steps.
Building a Routine for Long-Term Performance
Shark vacuum maintenance is about consistency. Don’t wait for the cup to be packed full. Empty it after every few uses, especially if you’re picking up fine dust or pet hair. Clean the pre-motor filter monthly and check/replace the HEPA filter as recommended. This proactive care keeps the cyclonic technology working as intended and prevents the motor from straining.
For those looking to minimize maintenance even further, the market has evolved. Technologies like those found in the best Shark self-emptying robot vacuum models represent the next step in convenience, automatically handling the dust cup emptying you’re now an expert at.
Mastering your Shark Navigator’s care is simple once you know the sequence: empty the cup, clean the filters thoroughly, check for clogs, and reassemble with care. This routine ensures your vacuum doesn’t just survive but thrives, delivering the powerful clean you bought it for year after year. Your machine is a tool that works hard for youa few minutes of proper care is the best return on investment you can give it.