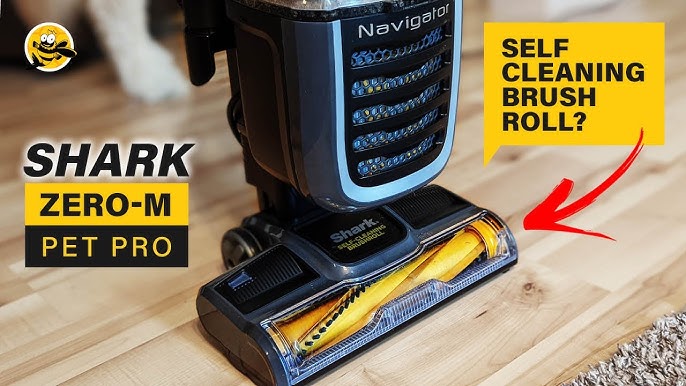
Your Shark robot vacuum is a workhorse, keeping your floors clean with minimal effort. But like any hardworking tool, its performance depends on regular care. The heart of its cleaning power is the brush roll, and knowing how to maintain and change it is key to keeping your machine running smoothly for years.
Think of the brush roll as the vacuum’s main sweeper. It agitates carpet fibers and directs debris into the suction path. Over time, hair, string, and dust can wrap around it, slowing it down or stopping it completely. A clean, functional brush is non-negotiable for optimal pickup. For those looking to extend the life of their main brush or tackle edge cleaning, many owners find value in having a dedicated Side Brush Shark replacement on hand. It’s a simple, affordable part that can make a noticeable difference in corner and edge performance.

Why Regular Brush Maintenance is Essential
Ignoring your Shark vacuum brush is a shortcut to poor performance. A clogged or worn brush roll forces the motor to work harder, which can shorten its lifespan. More immediately, you’ll see debris left behind on carpets and hard floors. Regular debris removal prevents hair from winding so tightly it damages the brush bristles or the axle.
This maintenance also protects your investment. While Shark robots are built to last, consistent care is the best warranty. It helps you avoid bigger, more expensive repairs down the line. Simple, proactive steps keep your daily cleanings efficient and effective.
Identifying When Your Shark Brush Needs Replacement
How do you know it’s time for a new brush? Don’t wait for a complete failure. Watch for these signs:
- Reduced Suction or Streaking: The vacuum moves over debris but doesn’t pick it up.
- Unusual Noises: A grinding, whirring, or slapping sound from the brush housing.
- The Brush Not Spinning: This is a clear red flag. It could be a severe wrap, a broken belt, or a worn-out brush.
- Visible Wear: Bristles are flattened, frayed, or missing chunks.
- Frequent Stoppages: The vacuum constantly errors out because the brush is jammed.
So, how often to change brush on Shark robot vacuum? There’s no universal calendar. It depends on your home’s square footage, floor types, and whether you have pets. A good rule is to inspect it monthly and plan for a replacement every 6 to 12 months with average use.
Finding the Right Replacement Part
Not all brushes are created equal. Using the correct replacement brush is critical. The wrong model may not fit or could cause performance issues. Always check your robot’s model number (found on the underside or in the app) before buying.
You’ll find official Shark replacement parts and third-party options. Official parts guarantee compatibility but may cost more. Third-party brushes can be a great value, but read reviews to ensure quality. Where to buy replacement brush for Shark robot vacuum is a common question. Your best bets are the official Shark website, major retailers, or reputable online marketplaces. Keep your model number handy.
Step-by-Step Brush Replacement Guide
Changing the brush is a straightforward DIY task. You’ll need a screwdriver (usually a Phillips head) and your new brush. Always turn off and unplug the robot’s charging dock before starting.
1. Brush Removal
- Flip your Shark robot vacuum over so the underside faces you.
- Locate the brush cover. It’s typically a long, rectangular panel held by screws or clips.
- Remove the screws or release the clips to open the brush housing.
- Lift out the old brush roll. You may need to slide it sideways to free it from the motor axle or side brackets.
- This is a perfect time to use a scissors or seam ripper to cut away any wrapped hair or debris from the housing and axles.
2. Brush Installation
- Take your new brush roll. Note the orientationone end often has a specific shape or slot to fit the motor axle.
- Slide the brush into the housing, ensuring each end sits correctly in its bracket or bearing.
- Check for proper alignment. The brush should spin freely without rubbing against the housing.
- Replace the cover and secure all screws or clips firmly.
- Give the brush a manual spin with your hand to confirm it moves smoothly.
That’s it. Power your robot back on and run a test clean. You should hear the steady, familiar hum of a clean brush roll at work. For a visual companion to this step by step guide to change Shark vacuum brush, many owners find it helpful to search for a video specific to their model number.
Troubleshooting Common Brush Issues
Even after a brush replacement, problems can pop up. Let’s solve them.
Why Is My Shark Robot Vacuum Brush Not Spinning?
This frustrating issue has a few common culprits:
- Installation Error: The brush isn’t fully seated on the motor axle. Reopen the housing and reseat it.
- Debris Blockage: A large object or hair wrap is jamming the brush or the side bearings. Clear it out.
- Faulty Drive Belt: Some models use a belt to connect the motor to the brush. If it’s stretched or broken, the motor runs but the brush doesn’t spin. Check your manual for belt replacement instructions.
- Motor Issue: Less common, but if the axle itself isn’t turning, there may be a motor problem. Contact Shark support if you suspect this.
Performance and Noise Problems
A new brush should be quiet and effective. If it’s not, consider these points:
- Third-Party Brush Quality: Inexpensive brushes may have imperfect balance, causing vibration and noise.
- Warranty Implications: Using non-OEM parts might void your warranty if they cause damage. It’s worth checking Shark’s policy.
- General Maintenance: A noisy brush can also signal that other parts, like the filter or wheels, need attention. A holistic approach to automatic robot vacuum maintenance ensures everything works in harmony.
Preventive Maintenance Tips
Make brush care a quick, regular habit. These steps will drastically extend the life of each brush roll.
The Weekly Clean-Out
Every week, or after a particularly hairy clean, flip your robot over. Use scissors to cut and remove any hair wrapped around the brush ends. Pull out large debris from the brush housing. This five-minute task prevents major jams.
Choosing the Right Brush for Your Home
Did you know some brushes are designed for specific challenges? If pet hair or long human hair is your primary battle, look into specialized anti-tangle brush rolls. These designs help prevent tight wraps in the first place. For a deep dive on this, our guide on the best anti-wrap Shark vacuum for long hair covers the technology and compatible models in detail.
Create a Maintenance Schedule
| Frequency | Task |
|---|---|
| Weekly | Clear hair and debris from brush ends and housing. |
| Monthly | Remove brush, fully clean axle and bearings. Check bristles for wear. |
| Every 3 Months | Wash filters (if washable). Check side brushes and wheels. |
| Every 6-12 Months | Plan for a full brush roll replacement. |
Keeping your Shark robot vacuum’s brush in top shape is the single most effective thing you can do for its performance. It’s not complicatedjust consistent. You’ll enjoy quieter runs, better cleaning, and the peace of mind that comes from a well-maintained machine. When in doubt, refer to your model’s manual or the Shark support site. Now, go give that hardworking brush a little attention. Your floors will thank you.