Keeping your Shark vacuum cleaner in top shape is simpler than you might think. Regular maintenance is the secret to preserving its powerful suction and extending its lifespan. Think of it like changing the oil in your cara little routine care prevents major headaches down the road. For a thorough clean, having the right tools helps. Many users find a dedicated cleaning kit, like the PetOde 2 Pieces, invaluable for accessing small crevices and brushes to dislodge stubborn debris from filters and brush rolls.
Your Complete Shark Vacuum Maintenance Guide
This shark vacuum maintenance guide walks you through every essential step. We’ll cover everything from the weekly task of emptying the dust cup to the quarterly deep clean that keeps your machine humming. Whether you own an upright, a cordless stick, or even a robot model, these core shark vacuum care instructions apply. We’ll also touch on specifics for different models and what your warranty doesand doesn’tcover.
Step-by-Step Filter Cleaning Process
Cleaning your Shark vacuum filters is the single most important task for maintaining suction. Most models have two or three filters: a pre-motor filter and a HEPA filter (often the post-motor filter). Neglecting these is the fastest way to lose power.
- Power Down & Locate: Always turn off and unplug your vacuum. Find the filter compartmentsconsult your manual if needed.
- Remove Filters: Gently take out each filter. Note their order and orientation for reassembly.
- Tap Out Loose Dirt: Over a trash can, tap the filters to dislodge dry dust.
- Wash (If Washable): Check your manual. Most Shark filters are washable. Rinse them under lukewarm water until the water runs clear. Never use soap or detergents.
- Dry Completely: This is non-negotiable. Let filters air-dry for at least 24 hours, away from direct heat. A damp filter will choke your vacuum’s motor.
Knowing how to wash shark vacuum filters properly prevents mold and ensures optimal airflow. Reinstall only when bone-dry.
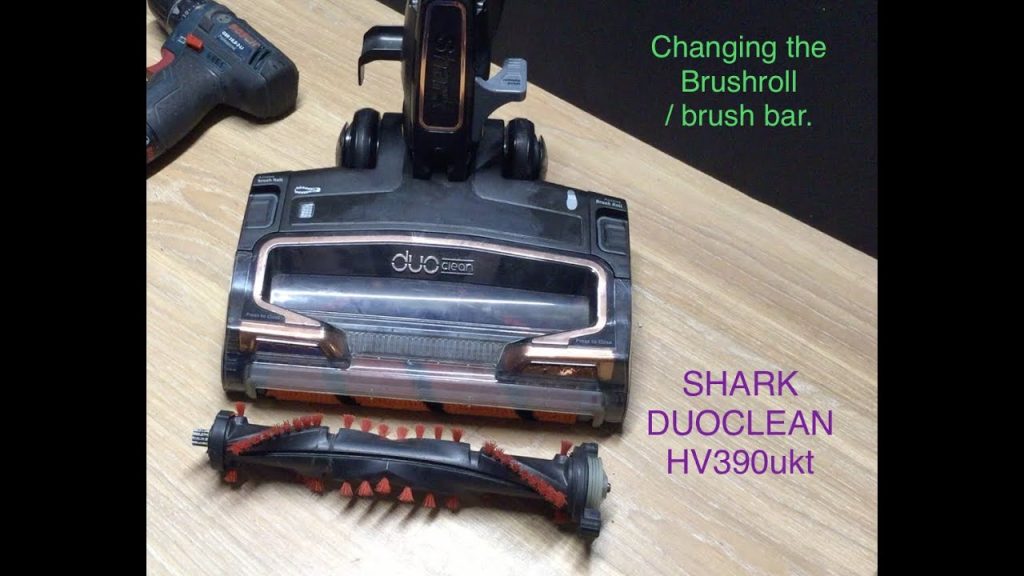
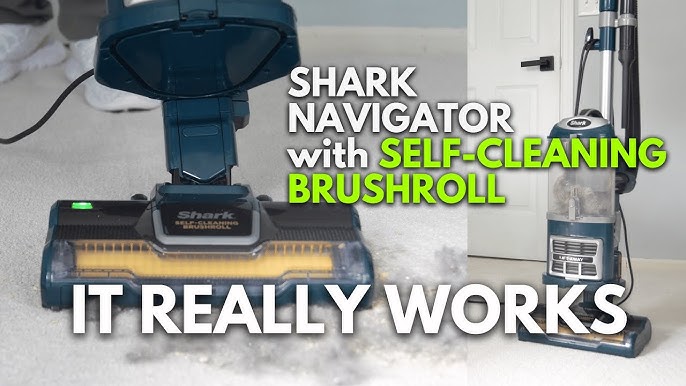
Brush Roll Removal and Deep Cleaning
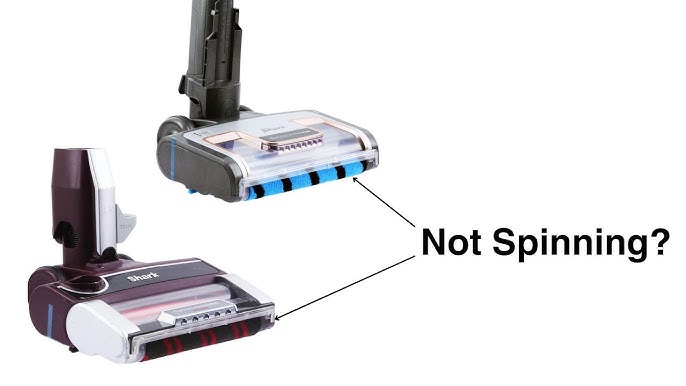
A tangled brush roll strains the motor and fails to pick up debris. Heres how to clean shark vacuum brush roll effectively.
- Access the Roll: Flip the vacuum over. Youll usually need a coin or screwdriver to release the end caps or cover.
- Remove the Brush Roll: Slide the entire brush roll out of its housing. Inspect it for wear, cuts, or excessive hair wrap.
- Cut and Remove Debris: Use scissors or a seam ripper to carefully cut and pull away wound hair, strings, and carpet fibers. Get between the bristles.
- Wipe Down: Use a damp cloth to wipe the roll and the empty housing clean. Check the ends for free rotation.
- Reinstall: Slide the clean brush roll back in and secure the cover. It should spin freely by hand.
For heavy pet hair situations, consider a model designed for the job, like the Shark CH950UKT handheld vacuum cleaner, perfect for quick clean-ups between deep sessions.
What About Different Models?
The process is similar for cordless vacuums and upright vacuums. However, some cordless stick models have a quick-release brush roll for easier access. Always refer to your specific model’s manual on the official SharkClean website for precise diagrams.
Dust Cup and Hose Maintenance
Emptying the dust cup after every use is a good habit. But it needs a wash every month to prevent odors and clogs.
- Emptying: Hold it over the trash, press the release latch, and let the contents fall out. Give it a few taps.
- Washing: Detach the cup from the vacuum. Rinse it with water (again, no soap). Use a long brush to scrub the interior. Let it dry completely before reattaching.
Shark vacuum hose cleaning solves many suction issues. If you hear a change in pitch or lose power, a clog is likely.
- Detach the Hose: Remove it from both the vacuum body and the wand.
- Inspect for Blockages: Look through it toward a light. Use a flashlight if needed.
- Clear the Clog: Use a long, flexible object like a broom handle or a dedicated hose cleaning wand to gently push the blockage out. Never use sharp objects that could puncture the hose.
- Test Suction: Before reassembling everything, test the hose by itself to ensure airflow is clear.
Learning how to unclog shark vacuum hose can save you a service call. For a powerful corded option that’s easy to maintain, our review of the Shark HV390UKT corded stick vacuum highlights its user-friendly design.
Troubleshooting Common Cleaning Issues
Even with good care, issues pop up. Heres a quick shark vacuum troubleshooting guide for problems you can fix yourself.
| Symptom | Likely Cause | Quick Fix |
|---|---|---|
| Loss of suction | Full dust cup, clogged filter, hose blockage | Empty cup, check & clean filters, inspect hose for clogs. |
| Vacuum overheats and shuts off | Clogged filters, tangled brush roll, blocked airway | Let cool. Then clean all filters, remove brush roll debris, check for blockages. |
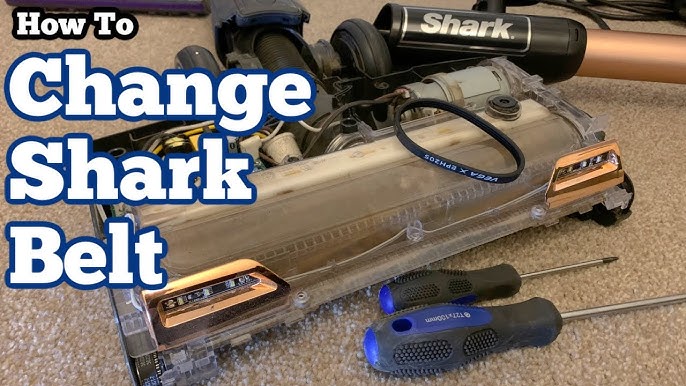
| Brush roll not spinning | Severe hair wrap, broken belt, debris jam | Clean brush roll thoroughly. Inspect drive belt for damage (replace if needed). |
| Unusual noise | Object stuck in hose or brush roll, bearing failure | Inspect hose and brush roll for foreign objects. A grinding noise may need professional repair. |
These shark vacuum care tips solve most common problems. Remember, forcing a vacuum to work while clogged is the main cause of motor burnout.
Building a Routine Maintenance Schedule
Consistency is key. Heres a simple schedule for how often to clean shark vacuum components. Adjust based on your home’s foot traffic and pet population.
- After Every Use: Empty the dust cup.
- Weekly: Check the brush roll for hair and debris.
- Monthly: Wash the dust cup and wipe down the exterior. Check hose for clogs.
- Every 3 Months (Quarterly): Perform a shark vacuum deep clean. This includes washing all filters, deep-cleaning the brush roll and its housing, and checking all attachments.
- Yearly: Inspect parts like the drive belt and wheels for wear. Consider replacing the HEPA filter if it appears damaged or doesn’t clean up well.
Sticking to this routine for shark vacuum parts cleaning ensures reliability. What about warranty and professional help? DIY maintenance won’t void your warranty, but improper repairs (like using non-OEM parts) might. For complex electrical issues or internal motor problems, seeking professional repair options is smarter than risking further damage.
A well-maintained Shark vacuum is a powerful, long-lasting partner in your cleaning routine. Its not about complicated procedures, but about timely, simple actions. Empty the cup, clean the filters, free the brush roll. Listen to your machinea change in sound often tells you it needs attention. By integrating these shark vacuum cleaning instructions into your routine, you protect your investment and guarantee peak performance for years. Your floors will thank you.