Keeping your Shark vacuum running at peak performance isn’t just about emptying the bin. A proper deep clean of the dust bin and its components is essential. It prevents clogs, maintains suction, and stops odors before they start. Think of it as routine maintenance for your machine’s health.
This guide walks you through the entire process, from removal to reassembly. We’ll cover specific model quirks and solutions for common problems, like a shark vacuum dust bin won’t come out. For a thorough job, having spare filters on hand is smart. Many users find value in a 2 4 Pack of replacement filters to ensure you always have a clean, dry set ready to go.

Introduction to Shark Dust Bin Maintenance
Your Shark vacuum’s dust bin, also called the dust cup or debris bin, is the heart of its cyclone technology. This system uses powerful airflow to separate dirt from the air, sending debris into the bin. Over time, fine dust, hair, and debris can coat the interior walls and filters, reducing suction and efficiency.
Regular maintenance is more than just a quick empty. It involves cleaning the bin itself, the pre-motor and HEPA filters, and the pathways that lead to them. Whether you own one of the powerful Shark bagless upright vacuums or a convenient Shark cordless vacuum, the core principles are the same. The frequency depends on your use, but a monthly deep clean is a good rule for most households.
Step-by-Step: Removing the Dust Bin
This seems simple, but it’s where many get stuck. The latch mechanism can vary slightly between Shark NV, DUO, and ION series models.
Standard Removal Process
- Turn off and unplug your vacuum. Safety first, always.
- Locate the release button or lever. On most models, this is on the front or top of the shark dust canister.
- Press and hold the release. You should hear a distinct click.
- Gently pull the entire shark vacuum dust container straight out from the main body.
Troubleshooting a Stuck Bin
If the shark vacuum bin won’t budge, don’t force it. Forcing can break the plastic tabs. Instead, check these common issues:
- Debris Jam: Look for a large object (like a Lego or hair tie) wedged in the bin’s opening, preventing it from sliding. Use a long, thin tool to dislodge it.
- Latch Not Fully Disengaged: Press the release button again, sometimes more firmly, and wiggle the bin slightly as you pull.
- Full to Capacity: An overstuffed bin can create pressure, making removal difficult. Try pressing down on the debris inside through the top opening to compact it before attempting removal again.
Once free, take the bin to a trash can. Press the bottom release tab to open the door and empty the contents. Give it a good shake and tap to dislodge fine dust.
Deep Cleaning the Dust Bin and Filters
Emptying is just step one. For a true deep clean, you need to address the bin interior and the filters. This is the core of shark vacuum maintenance.
Cleaning the Dust Bin Itself
- After emptying, detach the bin’s lid if your model allows. This usually involves pressing side tabs.
- Use a soft brush or dry cloth to wipe away all loose dust from the interior. Pay special attention to the grooves and the cyclone chamber.
- For a sanitizing clean, wash the bin with warm water and mild dish soap. Do not use harsh chemicals or abrasive scrubbers.
- Let it air dry COMPLETELY. This is non-negotiable. Any moisture left inside will create a pasty mess with the next use and can cause mold.
Filter Maintenance: The Key to Suction
Most Shark vacuums have two main filters: the pre-motor filter (protects the motor) and the HEPA filter (captures fine allergens). Both must be cleaned regularly.
| Filter Type | Location | Cleaning Method | Replacement Frequency |
|---|---|---|---|
| Pre-Motor Filter | Usually inside the shark dust compartment lid or behind the bin. | Tap gently over trash. Rinse under cold water until water runs clear. Air dry for 24+ hours. | Every 3 months with heavy use. |
| HEPA Filter | Typically at the back or top of the vacuum body. | Do not wash. Tap it firmly to dislodge dust. Use a soft brush to clean the pleats. | Check every 6-12 months. Replace if damaged or excessively dirty. |
Knowing how to clean shark dust bin filter components correctly preserves your vacuum’s power and protects your air quality. Never reinstall a damp filter.
Preventing Odors and Maintaining Performance
A smelly vacuum is often a sign of neglected maintenance. Odors come from trapped organic matter (food, pet hair) decomposing in a damp, dark shark vacuum debris bin.
- Empty After Every Use: Don’t let debris sit, especially if it’s damp.
- Ensure Complete Dryness: This bears repeating. Every part must be bone-dry before reassembly.
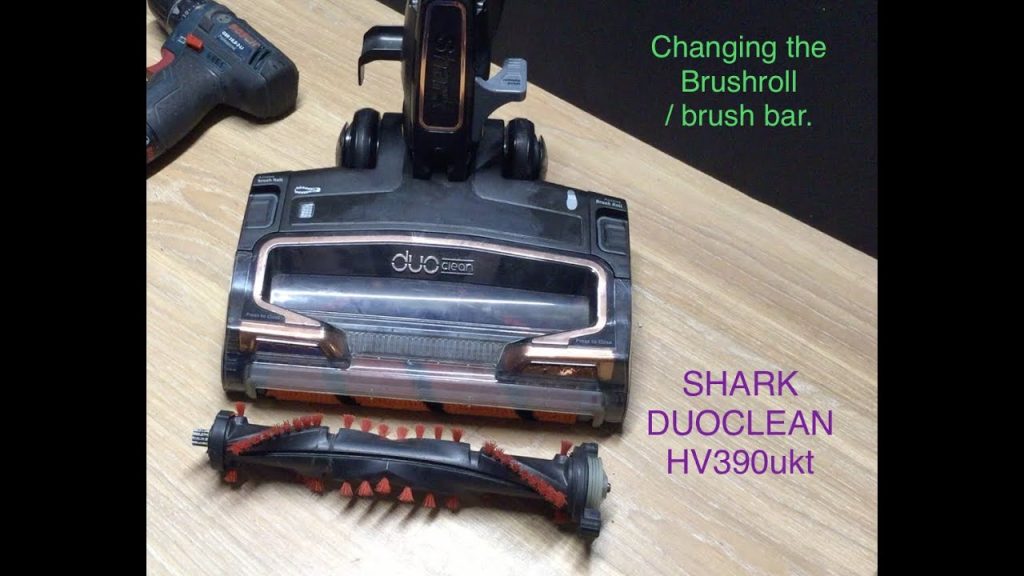
- Clean the Brush Roll: Hair and string wrapped around the roller can transfer odor and strain the motor. Cut and remove these tangles regularly.
- Use Baking Soda: For a fresh scent, you can sprinkle a tiny amount of baking soda into the dry, empty bin before reattaching it.
Consistent shark vacuum care like this prevents 90% of performance issues. It keeps airflow optimal and your machine running like new for years.
Reassembly and Final Checks
You’re on the home stretch. Putting everything back together correctly ensures a proper seal and safe operation.
- Verify the shark dust canister and ALL filters are 100% dry. Even slightly damp filters will impair suction.
- Insert the clean, dry filters into their correct slots. The pre-motor filter often has an arrow indicating the proper orientation.
- Snap the lid back onto the empty, dry dust bin until it clicks securely.
- Align the shark vacuum dust cup with the guides on the vacuum body. Slide it in firmly until you hear it click into place.
- Do a quick function test. Turn on the vacuum and listen for consistent, powerful suction. Check for any unusual noises that might indicate a misaligned part or remaining blockage.
If you encounter issues post-reassembly, double-check the filter placement and that the bin is fully seated. Refer to your model’s manual or the official Shark clean support site for model-specific diagrams.
And that’s it. A thorough shark vacuum cleaning ritual might take 20 minutes, but it pays off in extended appliance life and consistent cleaning power. By mastering shark dust bin removal and deep cleaning, you’re not just maintaining a toolyou’re investing in a cleaner home. Make it a monthly habit. Your vacuum (and your floors) will thank you.