It happens to the best of us. You set your Shark robot vacuum on its daily run, only to return to a scene of robotic carnage. A pet accident has occurred, and your trusty cleaner has, unfortunately, done its job a little too well. Your first thought is likely panic, but don’t worry. You can recover from this. The key is a systematic, thorough approach to sanitize and deodorize every affected part.
This guide walks you through the entire process, from the critical first seconds to the final functionality check. We’ll cover how to disassemble key components, properly disinfect them, and ensure no lingering odors or damage remain. For those considering a new purchase specifically for pet-friendly homes, the XIEBro Robot Vacuum is a model often noted for its robust brush system and large bin capacity, which can be advantageous in multi-pet households. Now, let’s tackle the cleanup.
Immediate Steps: What to Do Right After the Incident
Speed is your greatest ally. The longer the waste sits inside the vacuum, the harder it will be to remove and the more pervasive the smell becomes. Follow this protocol immediately.
Immediate power off is non-negotiable. Use the app, the physical button, or simply pick up the vacuum to stop it. Do not let it return to its dock. This prevents the mess from being spread further into the brush roll, wheels, and internal mechanics.
Next, perform a careful manual removal. Wearing gloves, take the vacuum to a hard, cleanable surface like a garage floor or over newspaper. Open the dust bin and empty its contents directly into a sealed bag. Use disposable paper towels or a plastic scraper to gently remove any residue from the bin, intake path, and the exterior of the main unit. Avoid pushing debris further in.
Assessing the Situation
Before deep cleaning, you need to understand the extent. Did the brush roll make contact? Are the side brushes or wheels contaminated? Check the filter compartment for any fine particulate that may have been pulled through. This initial assessment dictates your disassembly depth. A minor incident may only require a bin clean, while a full-on shark vacuum poop accident demands complete teardown.
Complete Disassembly for Deep Cleaning
For a true deep clean shark vacuum after dog poop step by step, you’ll need to take it apart. Consult your model’s manual (Shark AI Ultra, AV Series, etc., may have slight variations). Generally, you’ll need a screwdriver and a clean workspace.
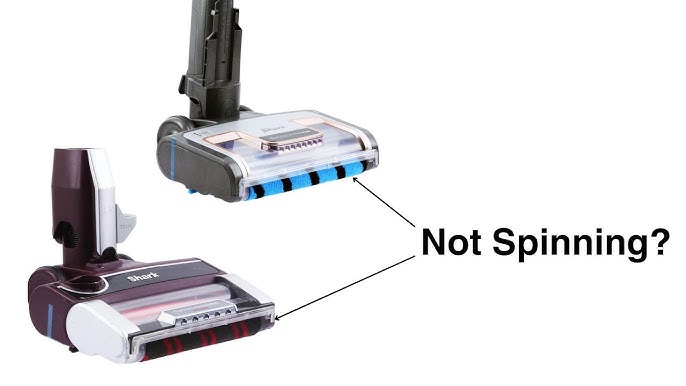
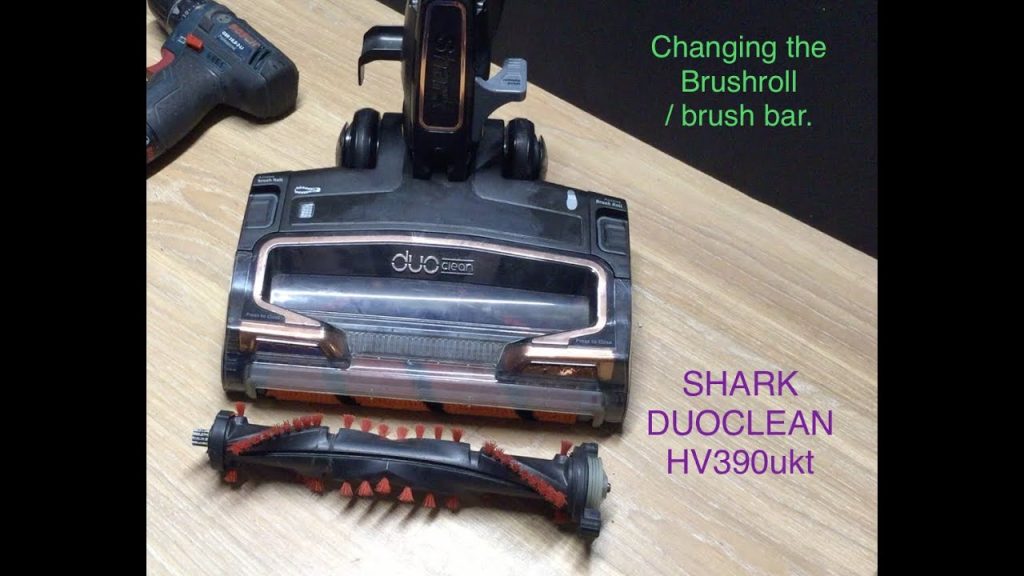
- Remove the Brushes: Unclip and take out the main brush roll and side brushes. These are primary offenders for trapping waste and hair.
- Detach the Bin and Filter: Take out the dust bin and its accompanying HEPA or foam filter. These are critical for sanitizing shark vacuum parts.
- Check Wheels and Sensors: Pop off the front caster wheel and examine the main drive wheels. Wipe sensor windows clean.
Lay all parts out in an organized manner. This is the core of your robot vacuum cleaning after pet mess operation. If you’re unsure about disassembly, resources like iFixit’s vacuum cleaner repair guides can offer visual assistance for many models.
Sanitizing Each Component: Brushes, Bin, and Filters
This is where you disinfect and deodorize. Different parts require different treatments. Never submerge the main robot body or use excessive liquid near its electronics.
Cleaning the Brush Roll and Bin
For the brush roll, use scissors or a seam ripper to cut away any tangled hair and debris. Soak it in warm, soapy water. Use an old toothbrush to scrub between the bristles and fins. For stubborn residue, a spray of an enzyme cleaner (designed for pet stains) can break down organic matter before washing. Rinse thoroughly.
The plastic dust bin can be washed with warm soapy water. For a higher level of sanitizeion, wipe it down with a solution of 70% isopropyl alcohol. Alcohol evaporates quickly and kills germs without leaving moisture behind. Let all plastic parts air-dry completely.
Addressing Filters and Other Parts
This is a key moment in shark robot vacuum maintenance. Most Shark filters are not washable. If the filter is contaminated, you should replace it. Attempting to wash a non-washable filter will ruin its ability to trap fine dust and can lead to motor damage. Check your manual. If it is washable, rinse it gently under cold water without soap, and let it air-dry for at least 24 hours.
Wipe down the wheels, sensors, and the robot’s underside with a cloth dampened with isopropyl alcohol or a mild disinfectant wipe. Ensure no moisture enters charging contacts or sensor housings.
Eliminating Odors and Preventing Future Issues
You’ve cleaned, but the ghost of the accident may linger. Knowing how to get dog poop smell out of shark robot vacuum involves targeted deodorizing.
After reassembly (with completely dry parts), place an open box of baking soda or a few dryer sheets inside the clean, empty dust bin. Let the vacuum sit for a day. You can also run it for a few minutes on a clean floor with a dryer sheet in the bin to circulate fresh scent. For persistent odors, use an ozone generator in a small, enclosed room with the vacuum (follow all safety instructions for ozone use).
To prevent a repeat, consider your robot’s schedule. Don’t run it unattended if your pet has had recent digestive issues. You might also investigate the best Shark robot vacuum for dog hair and pet homes, as some models are better suited for high-traffic pet areas. Regular pet waste vacuum cleanup by you, before automation, is the best policy.
Warranty and Professional Help
Be aware that liquid or biological contamination often voids the warranty on robot vacuums. If the waste was particularly liquid and you suspect it entered the motor or electronics, your shark robot vacuum cleaning after pet mess may need expert attention. If, after your thorough cleaning, the vacuum exhibits error codes, strange noises, or won’t charge, contact Shark support or a repair professional. This is a key missing entity many guides overlook.
Reassembly, Testing, and Final Thoughts
Once every single component is bone-drythis is criticalreassemble your vacuum. Insert the filter, click the brush roll back into place, and secure the side brushes. Perform a full dry cycle by placing the vacuum on its dock to ensure the battery is charged.
For the first test, run the vacuum in a small, clean area where you can monitor it. Listen for unusual sounds and watch its navigation. Check the bin afterwards for any new debris or moisture. If all seems well, you’ve successfully navigated one of a pet owner’s most dreaded chores.
While no robot vacuum is truly designed for pet waste vacuum cleanup, accidents happen. The robustness of your shark robot vacuum maintenance routine determines its longevity. For those in the market, comparing the best Shark robot vacuum models overall can help you find features like self-emptying bases or allergen locks that simplify pet-related cleanups. Your vacuum can recover. With patience and this methodical clean, you’ll restore both your machine and your peace of mind.